

Prerequisite: You need an existing instance to take a snapshot of.
Region-scoped: Snapshots are only available in the region where they were created. When creating an instance from a snapshot, make sure you select the same region.
Availability
This feature is currently only available within the reserved cloud service environment.Requirements
- Check if you have the required permissions for taking a snapshot
- Make sure to have an instance set up you can take the snapshot of (the instance itself can either be stopped or running)
- Check if you have sufficient snapshot quota
Snapshot vs Custom Image
Snapshot Lifecycle
Step-by-step
Taking a snapshot
- In the Console, open your project, then go to Compute → Instances
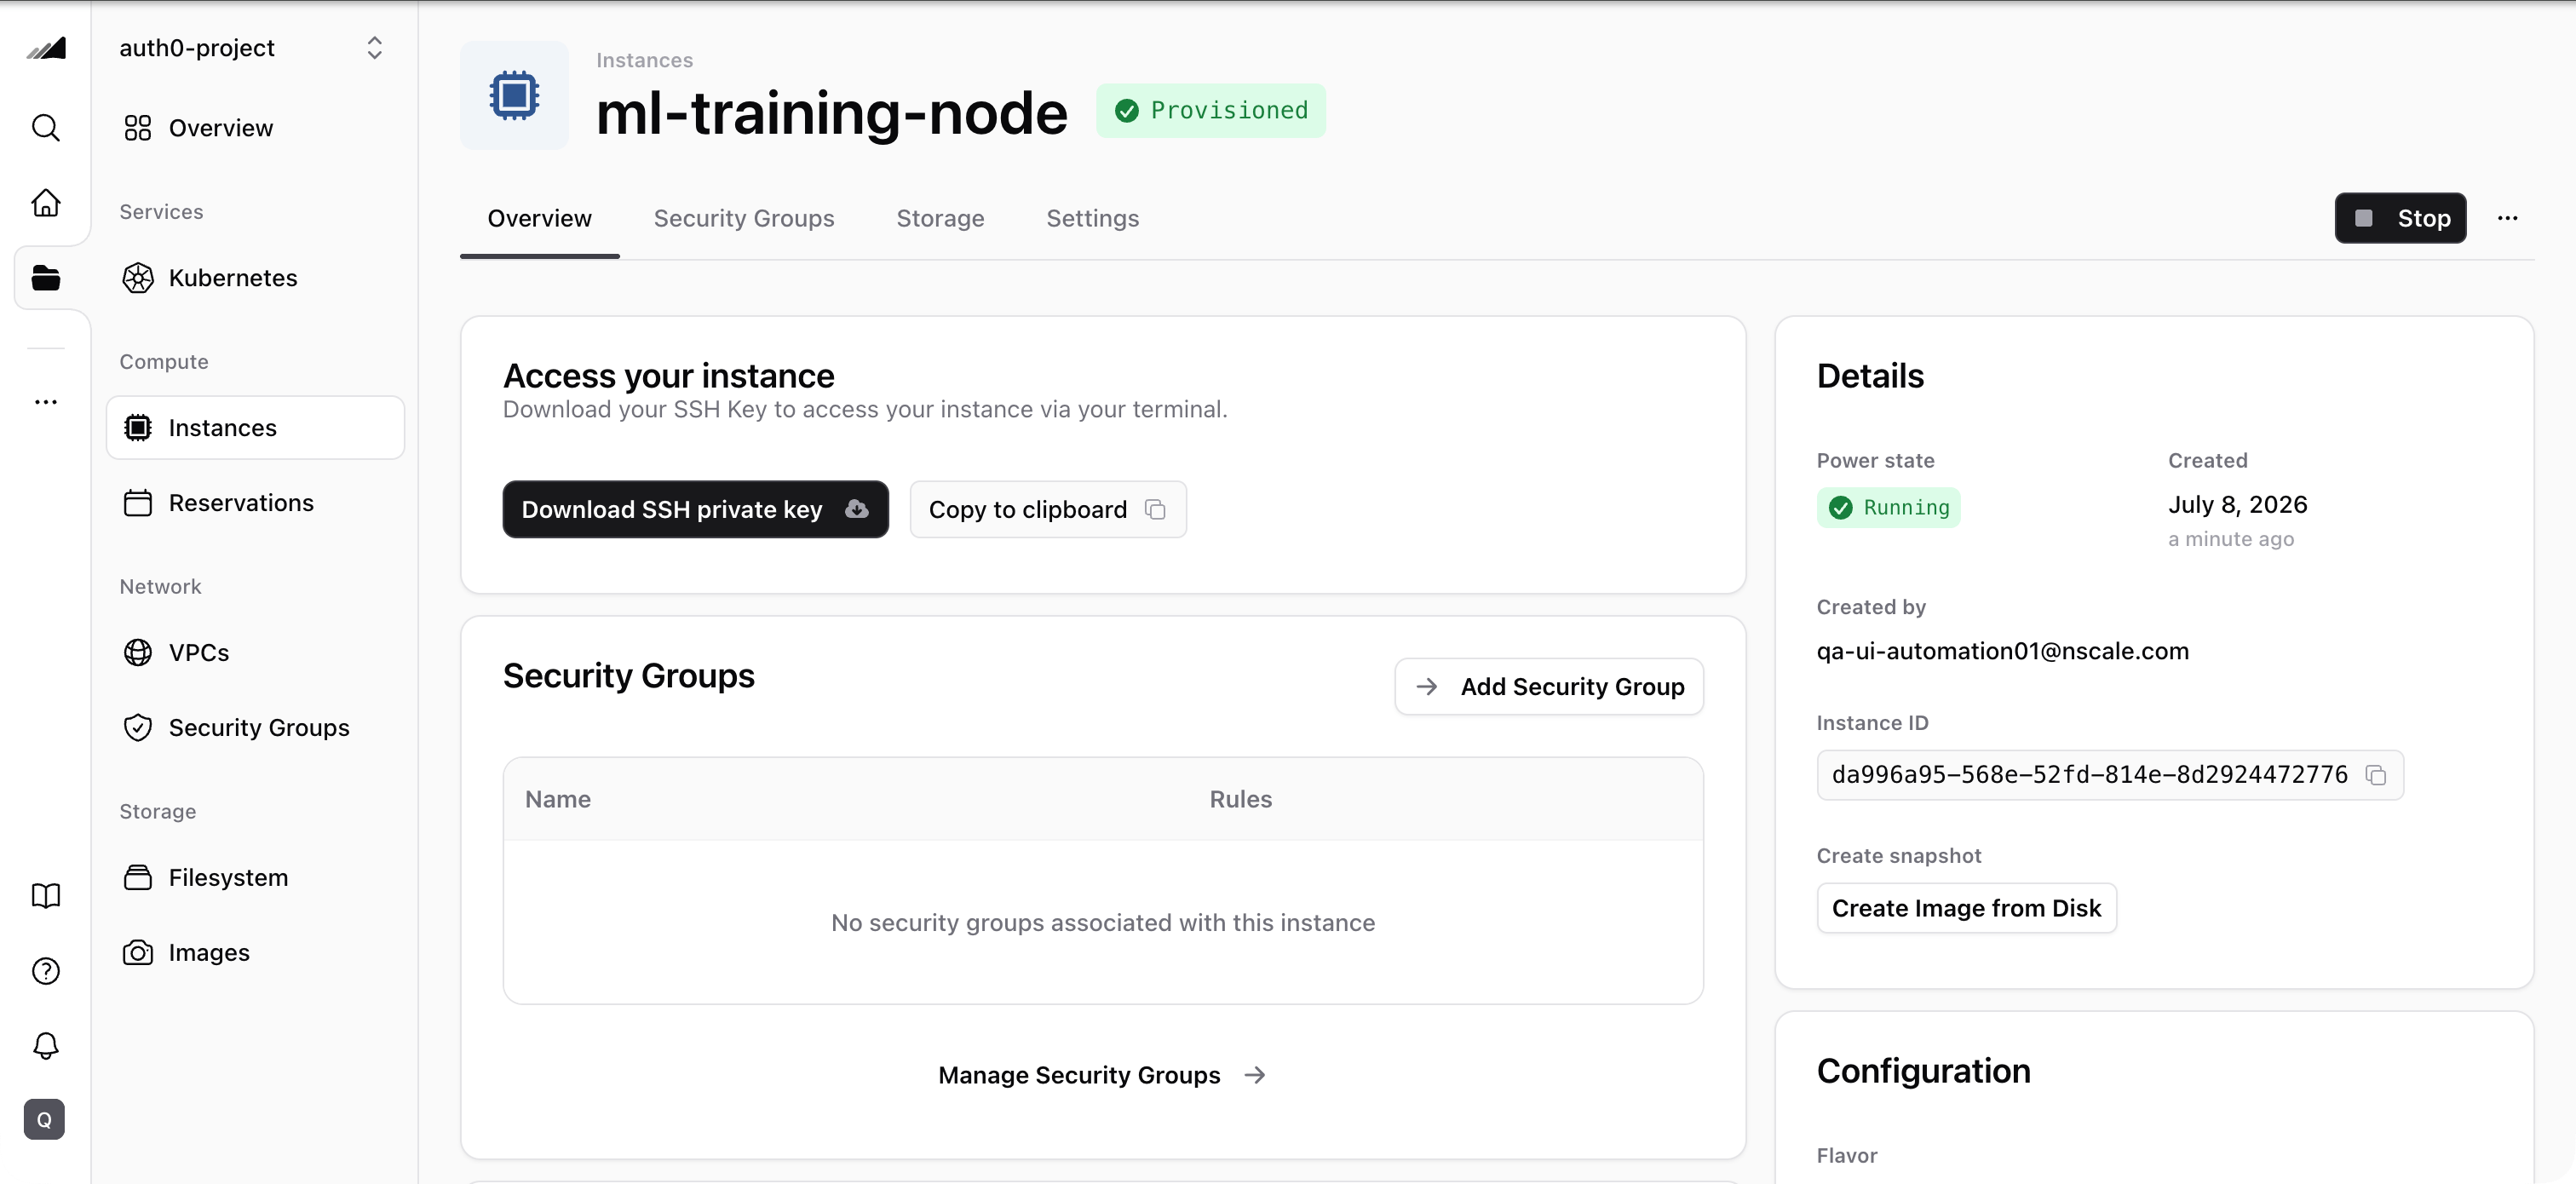
- Choose the instance you want to take a snapshot of within the list and click on it to be redirected to the instance details page
- Click on “Create image from disk” in the details section on the right side
- A point-in-time copy of your instance is created and will be added to the list of snapshots and images
Creating an instance from a snapshot
- In the Console, open your project, then go to Compute → Instances
- Click New Instance and fill in the basic details (name, project) and networking (VPC, security group)
- In the Configure your instance section, select Snapshot as the image source
- Choose the snapshot you want to use from the list — make sure the region matches the region where the snapshot was created
- Complete the remaining configuration and click Create instance
If you don’t see your snapshot in the list, check that the region selected for the new instance matches the region where the snapshot was created.
Quotas
To check your current snapshot and image quota, go to the Resource Usage section on the Dashboard. The dashboard shows your usage alongside GPU, server, cluster, network, and filesystem quotas.Common Issues / Troubleshooting
- Symptom: You don’t see the expected snapshot in the Create instance flow when selecting a snapshot. Likely cause: The snapshot is region-scoped, and the snapshot was created in a different region than the one selected for the new instance. Fix: In the instance creation flow, confirm the Region selection matches the region where the snapshot was created. If needed, restart the flow and select the correct region, then check the snapshot list again.
- Symptom: Snapshot creation seems to hang or take a long time. Likely cause: The instance disk is large or the instance was running during the snapshot. Fix: For large disks, allow more time. For the most consistent results, stop the instance before taking a snapshot.
Related Resources
Instances
Create instances from snapshots or take snapshots of existing instances
Custom Images
Upload your own OS images instead of using snapshots
API Reference
Manage snapshots programmatically via the Compute API