

Custom images let you upload your own OS image (QCOW2 or RAW format) to use as the base when creating instances. Use them for hardened baselines, pre-configured environments, or any OS build that isn’t available as a pre-provisioned image. Unlike snapshots (which copy an existing instance’s disk), custom images are uploaded from an external source.Documentation Index
Fetch the complete documentation index at: https://docs.nscale.com/llms.txt
Use this file to discover all available pages before exploring further.
Prerequisites: You need an existing project and a custom image file in QCOW2 or RAW format.
Availability
This feature is currently available for the Reserved cloud service environment.Supported formats: Only QCOW2 and RAW image formats are supported. Other formats (e.g., VMDK, VHD) must be converted before uploading.
Region-scoped: Custom images are available only in the region where they were uploaded.
Requirements
- An existing project to place the resulting instance into
- A custom image file in a supported format (QCOW2 or RAW)
Image Preparation
Before uploading, ensure your image:- Uses a supported OS (Linux distributions with cloud-init support are recommended)
- Has cloud-init installed and configured for first-boot setup (SSH key injection, hostname, etc.)
- Is reasonably sized — large images will take longer to upload and provision
- Has any required GPU/NVIDIA drivers pre-installed if you intend to use GPU node types
Custom Image Lifecycle
| Action | Details |
|---|---|
| Upload | Upload a QCOW2 or RAW image file via the console |
| Create instance | Select the custom image as the base when creating a new instance |
| Delete | Remove the image from your project |
Step-by-Step
Upload a custom image
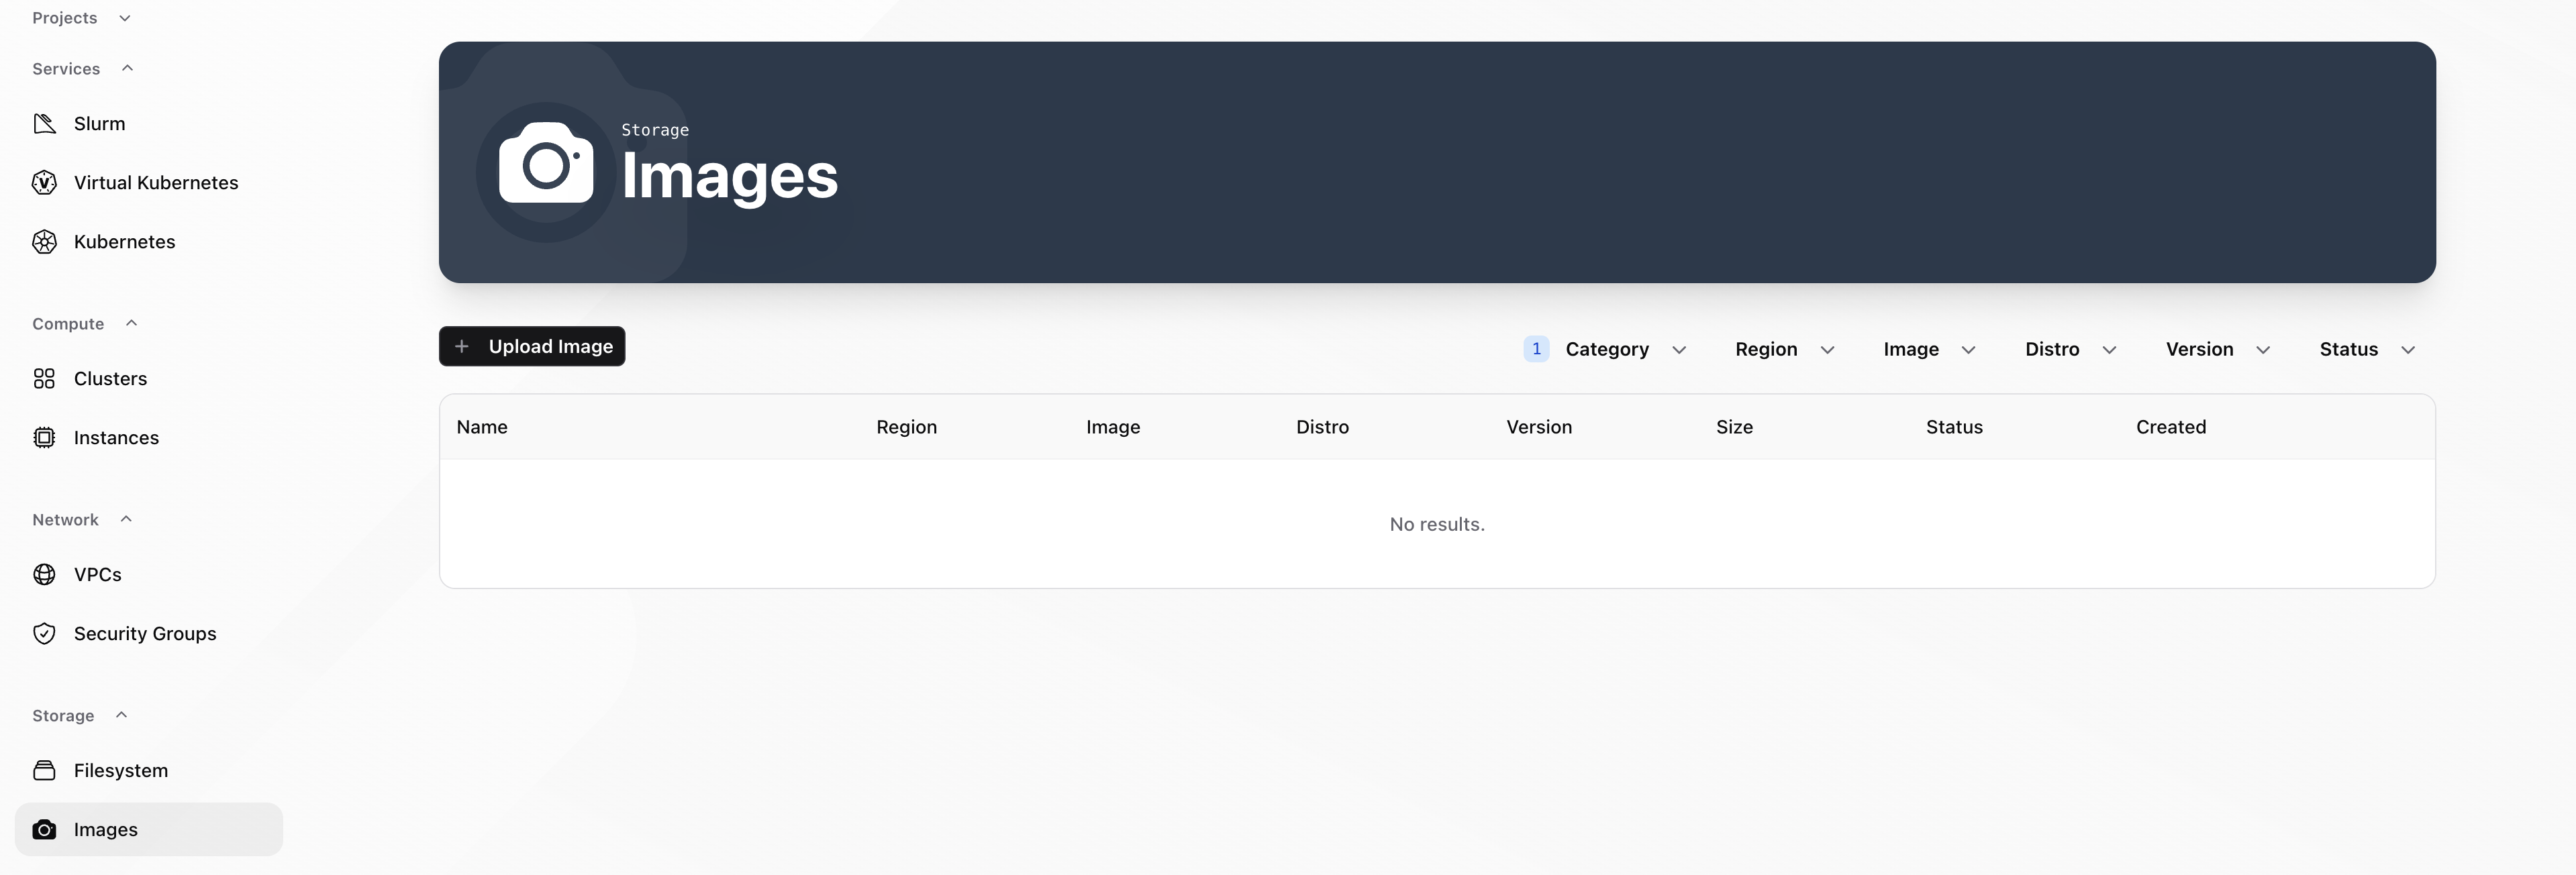
- Navigate to the left-side menu within the UI and click on Storage → Images
- Select the “Upload Image” button to begin the custom image upload flow
- Provide your image file in a supported format (QCOW2 or RAW)
- Verify the image is available and visible within the list of Custom Images: you can filter between custom images and snapshots by clicking on “Category” on the right side and then filter for the respective image type
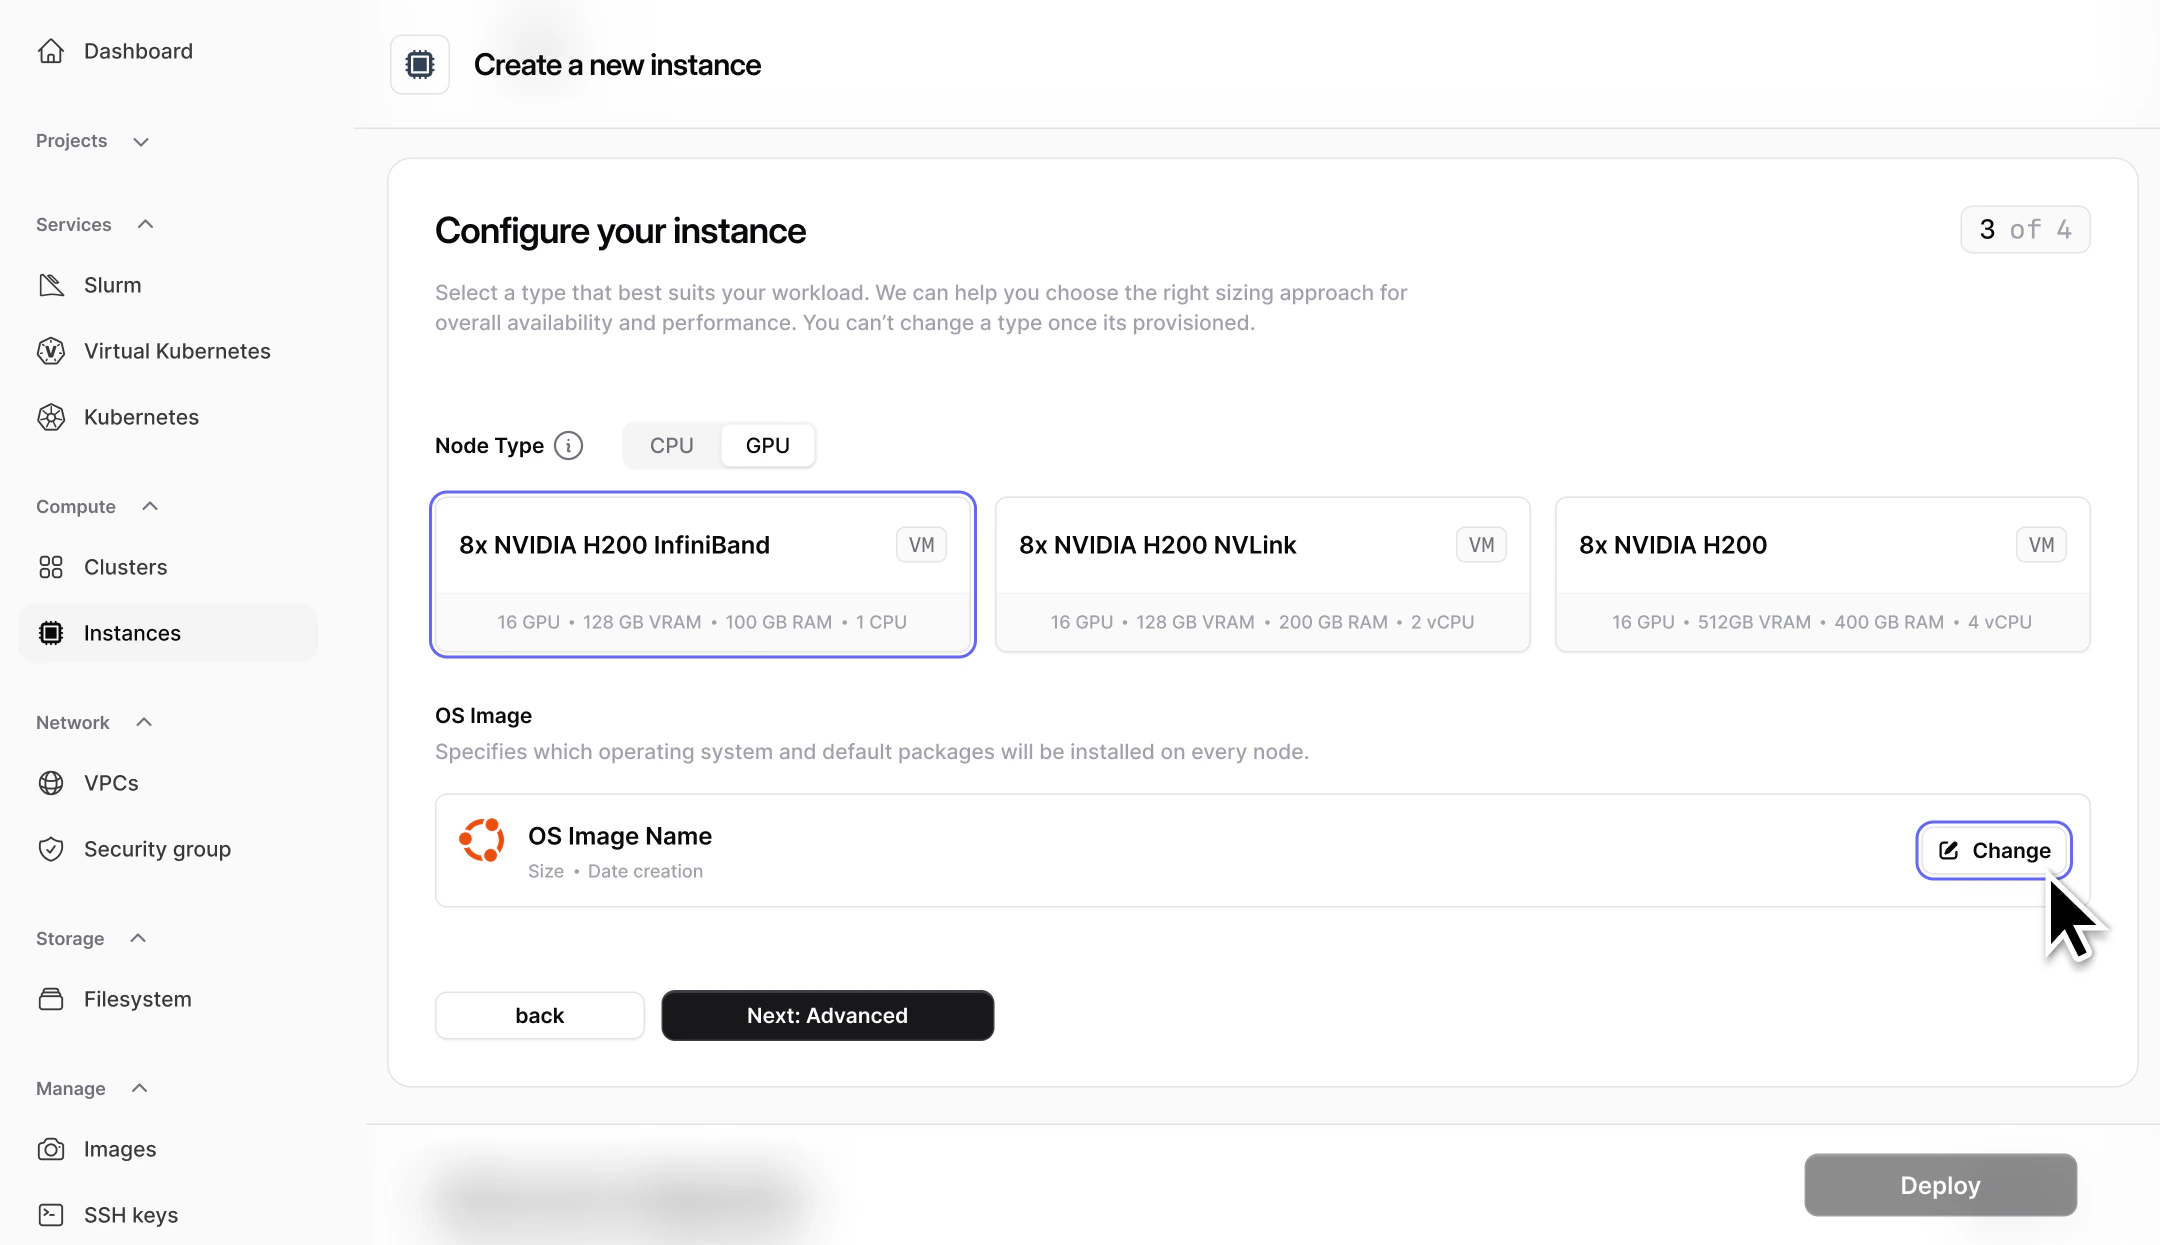
Create an instance from a custom image
- In the console left navigation, go to Compute → Instances and follow the create instance flow
- When configuring the instance, select Custom Image as the image source (instead of pre-provisioned image or snapshot)
Quotas
To check your current image quota, go to Dashboard → Resource Usage in the console. The dashboard shows image counts alongside GPU, server, cluster, network, and filesystem quotas.Common Issues / Troubleshooting
-
Symptom: Your custom image upload fails or the image is rejected.
Likely cause: The image format is not supported (only QCOW2 and RAW are accepted).
Fix: Convert your image to QCOW2 or RAW format before uploading. You can use
qemu-img convertto convert between formats. - Symptom: An instance created from the custom image doesn’t boot or has no SSH access. Likely cause: The image doesn’t have cloud-init configured or the SSH key injection didn’t work. Fix: Ensure cloud-init is installed and properly configured in the image. Verify that the image’s boot configuration is compatible with the Nscale compute environment.
Related Resources
Instances
Create instances using your custom images
Snapshots
Create point-in-time copies of existing instances instead
API Reference
Manage images programmatically via the Networking and Storage API