

A Virtual Private Cloud (VPC) is an isolated network boundary for your resources. Instances, clusters, and filesystems inside a VPC can communicate with each other but are isolated from resources in other VPCs. You need at least one VPC before you can create instances. VPCs are project-scoped and region-bound.Documentation Index
Fetch the complete documentation index at: https://docs.nscale.com/llms.txt
Use this file to discover all available pages before exploring further.
Prerequisite: You need an existing project before creating a VPC.
Summary
This page explains how to create and manage Virtual Private Cloud (VPC) networks in the nscale Console UI. Use this workflow if you:- Need a private network boundary for workloads in a specific project
- Want to prepare networking before creating instances (you need at least one VPC to create instances)
Availability
This feature is available for On-demand and Reserved cloud services.Requirements
- A project where the VPC will be created (VPCs are project-scoped; you can create multiple VPCs per project)
- Permission and sufficient quota to create a VPC
VPCs are project-scoped — you can create and use multiple VPCs within the same project.
VPC Lifecycle
| Action | Details |
|---|---|
| Create | Provide name, project, region, address range, and optional DNS server IPs |
| Edit DNS IPs | You can update DNS server IPs at any time after creation. Note: changes propagate via DHCP and may take up to 24 hours to apply on machines. Reboot the instance or run dhclient to force an immediate refresh. |
| Delete | Remove a VPC that is no longer needed |
Step-by-step
Create a new VPC
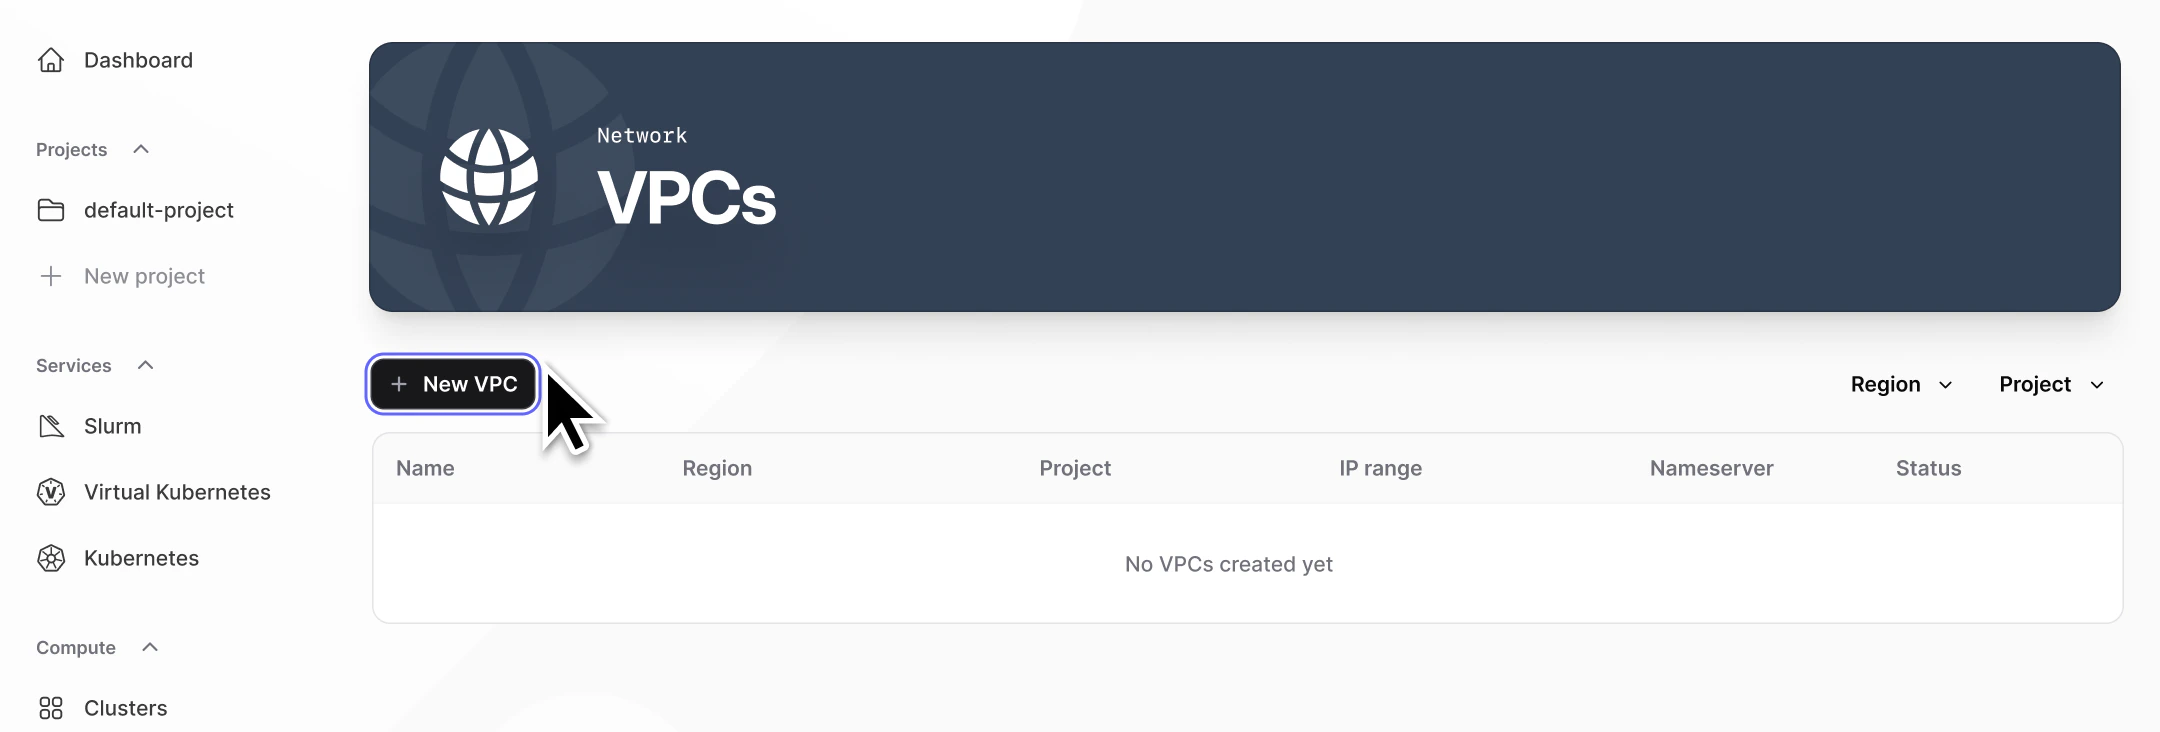
- In the Console, open Network from the left-side menu.
- Select VPCs.
- Click New VPC.
- Fill in the VPC details:
- Name: Enter a name for your network.
- Project: Choose the project where the VPC should exist.
- Region: Select the region for the VPC.
- Address range: Enter the CIDR block for the VPC (e.g.,
10.0.0.0/16).
- DNS server IPs: Add one or more DNS server IPs (if needed).
- Create the VPC.

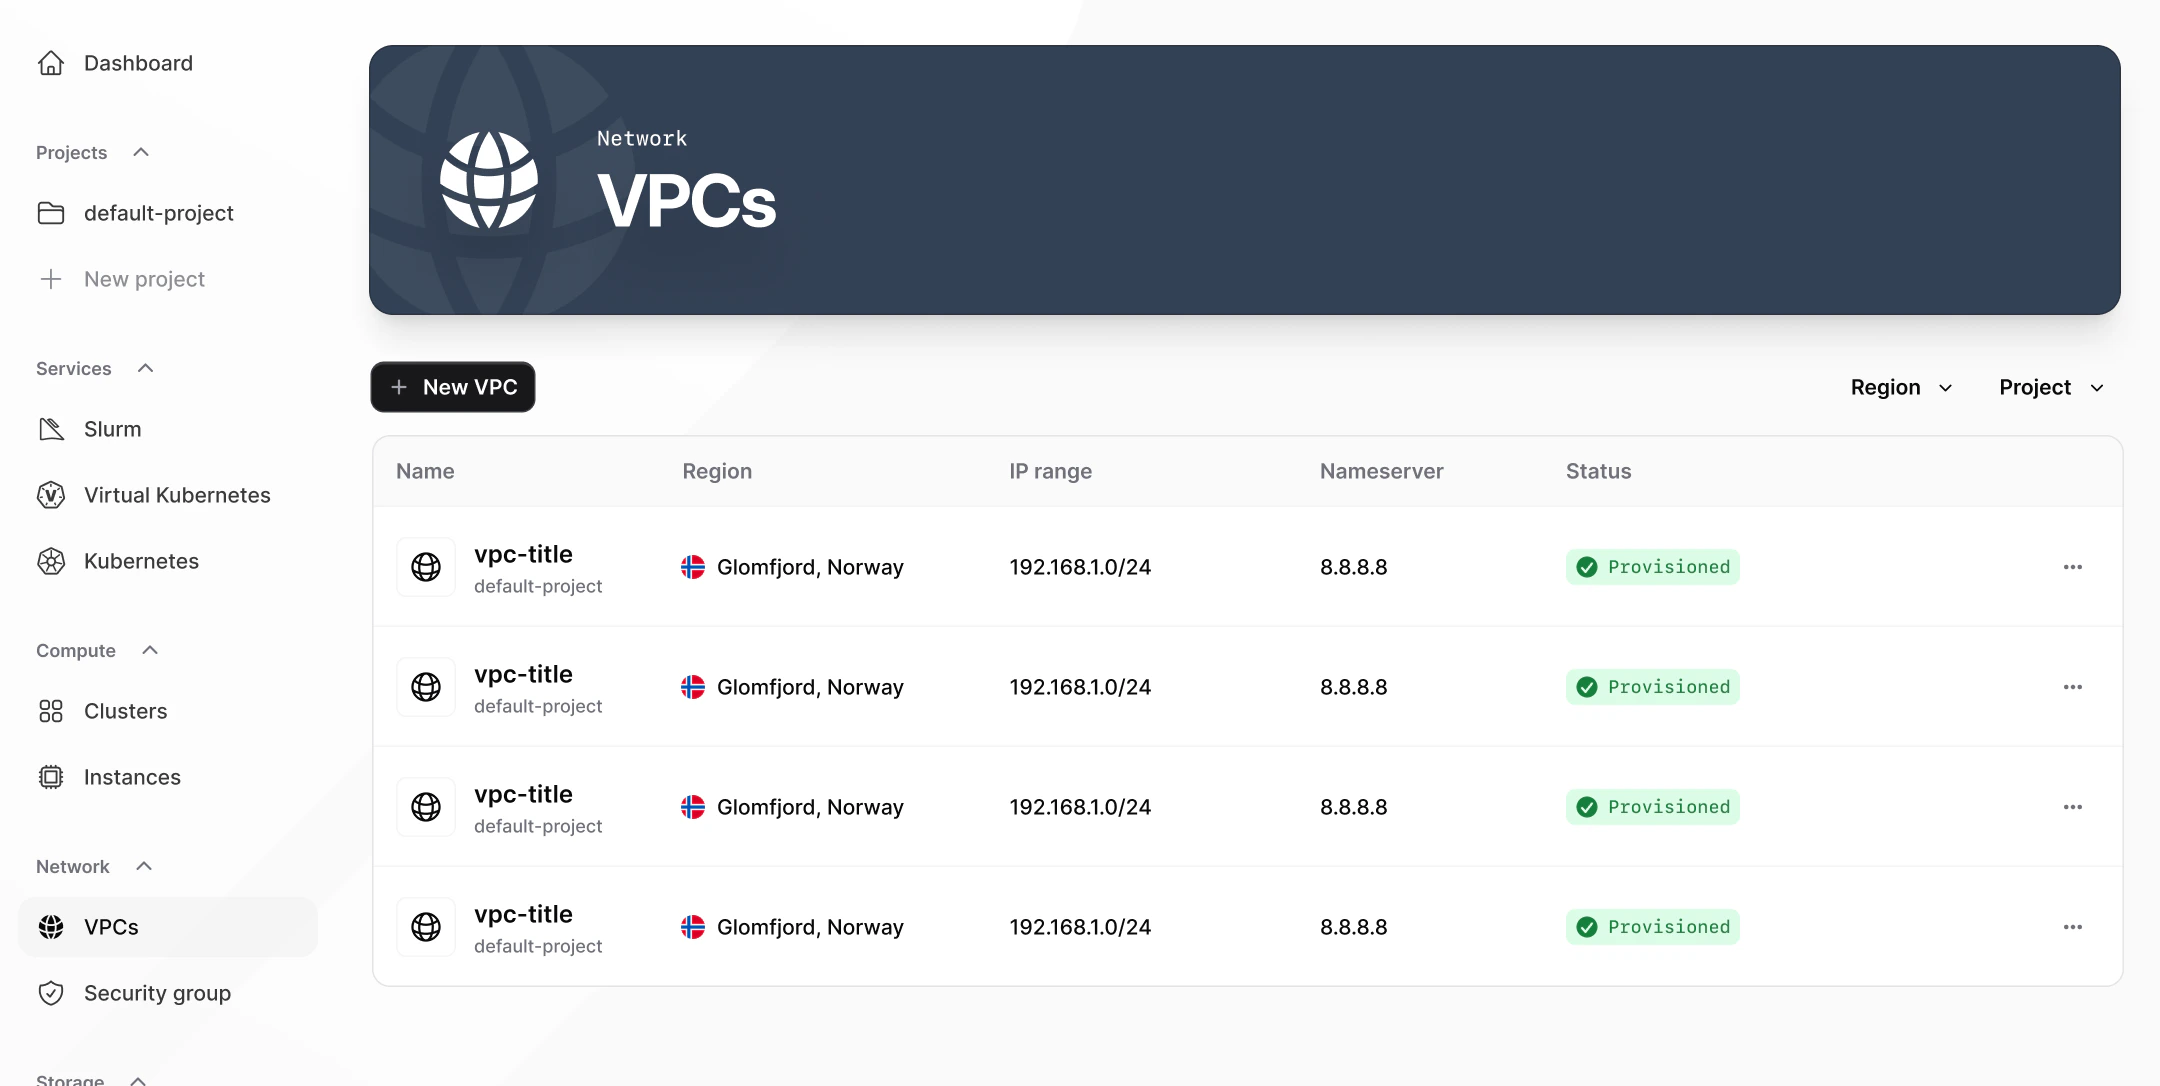
- Verify the result:
- You should see the new VPC appear in the VPC list for the selected project.
Quotas
To check your current network quota, go to Dashboard → Resource Usage in the console. The dashboard shows your provisioned and total limits for networks alongside GPU, servers, clusters, and filesystem quotas.Common Issues / Troubleshooting
- Symptom: You can’t find a VPC you expect to see in the Console. Likely cause: The Console is currently scoped to a different project. VPC networks are project-scoped, so you’ll only see VPCs created in the selected project. Fix: In the Console, switch to the correct project, then return to Network → VPCs and check the list again.
- Symptom: Your DNS server IPs changed after the VPC was created. Likely cause: DNS servers can change over time (for example, if your upstream DNS changes), and the VPC still has the older DNS server IPs configured. Fix: Go to Network → VPCs, select the VPC, and update the DNS server IPs. You can return later at any time to edit them.
Related Resources
Instances
Create compute instances inside your VPC
Security Groups
Control traffic rules for resources in your VPC
Filesystem
Attach shared persistent storage within your VPC
API Reference
Manage VPCs programmatically via the Networking and Storage API