

Filesystem is shared persistent NFS storage that can be mounted by multiple instances and clusters simultaneously. It is region-bound and attaches to a single VPC. Use it when you need shared, persistent storage accessible from more than one compute resource.Documentation Index
Fetch the complete documentation index at: https://docs.nscale.com/llms.txt
Use this file to discover all available pages before exploring further.
Prerequisites: You need a VPC network and at least one instance or cluster in the same VPC before you can use the filesystem.
Summary
This page explains how to create and use Filesystem storage in the nscale console. By following the steps, you will:- Create a project-scoped, region-bound shared filesystem
- Attach the filesystem to a single network so multiple instances/clusters in that network can share it
- Retrieve the NFS mount command and use it to mount the filesystem from your compute resources
Availability
This feature is currently only available for the reserved cloud service environment.Requirements
- Permissions to create and manage storage resources in the console
- A target region selected for the storage resource (Filesystem is region-bound)
- A network to attach the storage to (Filesystem attaches to a single network)
- At least one instance or cluster in the same network where you will mount the filesystem
If no VPC is selected, the mount command is not provided. You must select a VPC to get the mount command.
Filesystem Lifecycle
| Action | Details |
|---|---|
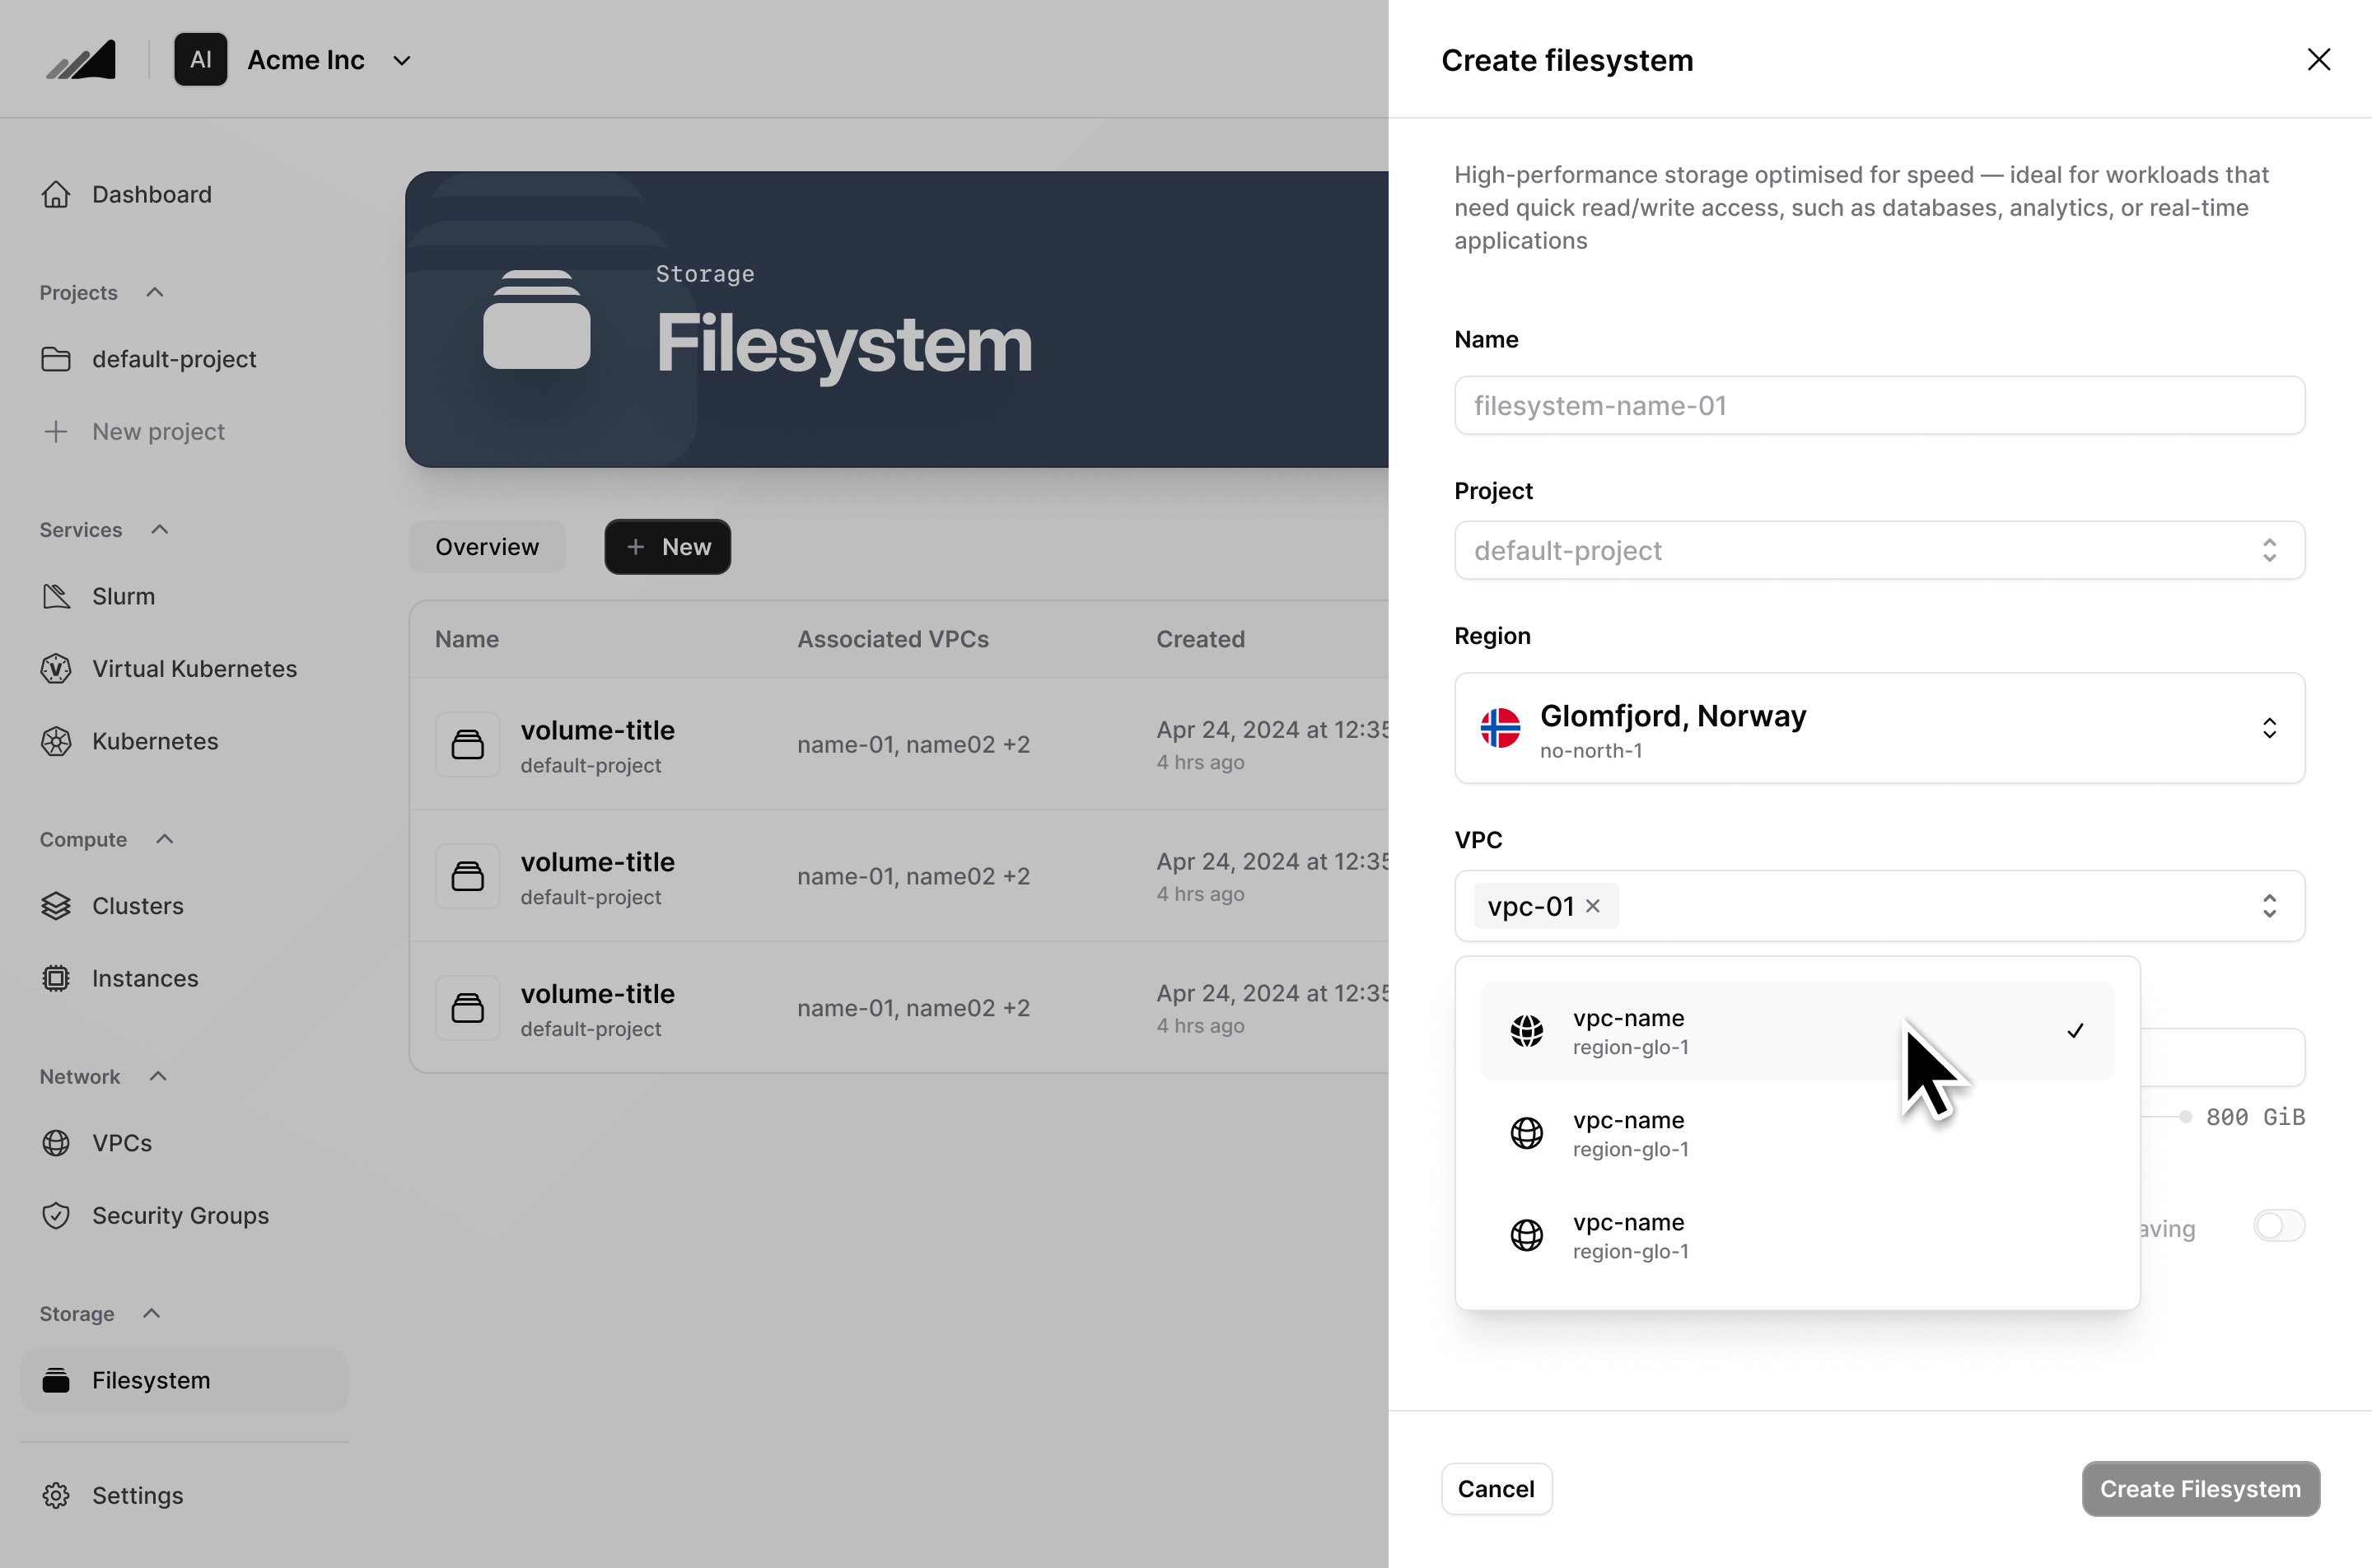
| Create | Provide a name, capacity, and select the VPC to attach to |
| Resize | Increase the filesystem capacity at any time from the console |
| Mount | Use the NFS mount command from any instance/cluster in the attached VPC |
| Detach | Detach the filesystem from its current VPC before moving it to another |
| Delete | Permanently remove the filesystem and all data stored on it |
Step-by-Step
- Choose the project and region
- In the console, select the project you want to use
- Select the region where you want the filesystem to live
- Create (or select) the network you will attach storage to
- Create a new network, or select an existing one in the same region
- Confirm the network is in the same region as the storage you plan to create
- Important: Filesystem supports a single network attachment. Plan accordingly if you have multiple networks
- Create the Filesystem
- Go to Storage → Filesystem in the console
- Provide the required values (for example: name and capacity)
- Create the filesystem
- You should see the filesystem appear in the resource list, and its status move to a “ready/available” state
- Get the NFS mount command
- In the filesystem details, locate the action or section to Mount your filesystem
- Copy the NFS mount command
- You should see a mount command that you can run from a Linux host in the attached network
- Mount from your compute (instance or cluster)
- From a target instance (or nodes in your cluster) that are connected to the same network:
- Run the mount command you copied
- Confirm the mount worked by verifying the mount point is accessible and read/write as expected
- From a target instance (or nodes in your cluster) that are connected to the same network:
Quotas
To check your current filesystem quota, go to Dashboard → Resource Usage in the console. The dashboard shows your filesystem storage usage (e.g., 1 GiB / 1 TiB) alongside GPU, server, cluster, and network quotas.Common Issues / Troubleshooting
- Symptom: You can’t attach the filesystem to the selected network Likely cause: The filesystem is already attached to a different network (single network attachment), or the network is in a different region. Fix: Verify the filesystem’s current attachment and region. If it’s attached already, detach it first and re-attach to the intended network. Ensure network and filesystem are in the same region.
- Symptom: The mount command fails from your instance/cluster Likely cause: The instance/cluster is not in the attached network, or network access rules prevent NFS connectivity. Fix: Confirm the compute resource is connected to the same network the filesystem is attached to. Then verify network/security rules permit NFS traffic (exact ports/rules depend on your setup).
- Symptom: No mount command is shown in the filesystem details Likely cause: No VPC has been selected for the filesystem. Fix: Edit the filesystem and select a VPC. The mount command will appear once a VPC is attached.
Related Resources
VPC Networks
Create the network your filesystem attaches to
Instances
Mount the filesystem from your compute instances
Managed Kubernetes
Access shared storage from your Kubernetes clusters
API Reference
Manage filesystems programmatically via the Networking and Storage API